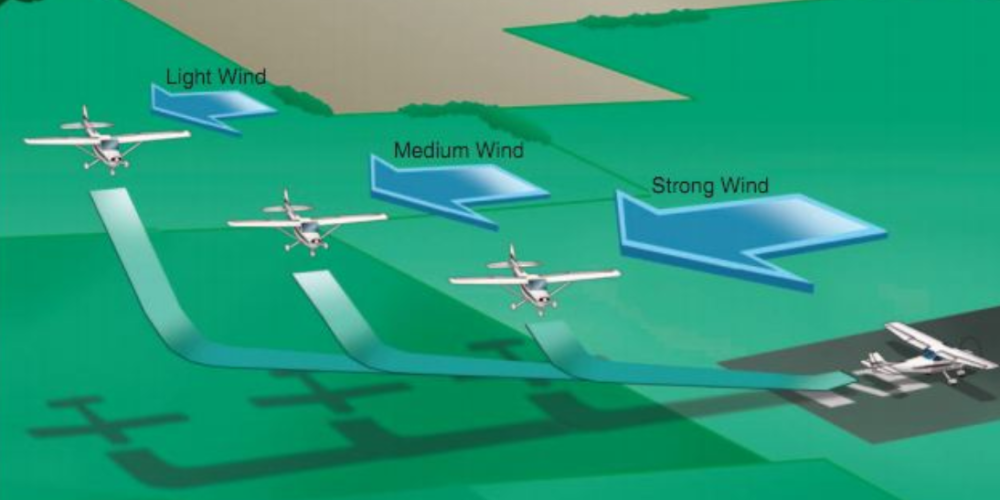
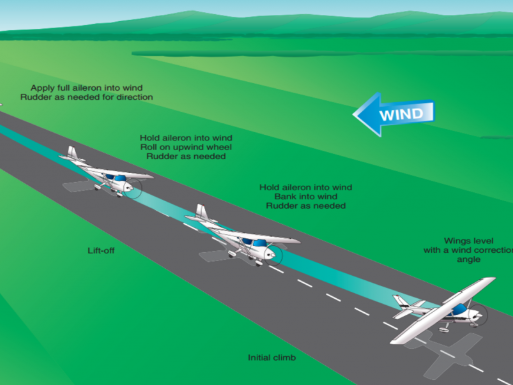
Task A - Normal and Crosswind Takeoff and Climb
Lesson on the basics of the takeoff and climb.
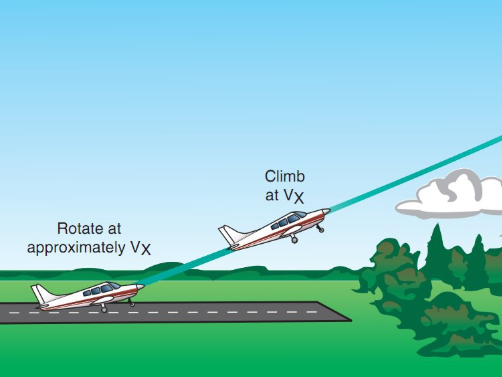
Task B - Short-Field Takeoff and Maximum Performance Climb
Lesson on maximum performance takeoffs and climbs.

Task C - Soft-Field Takeoff and Climb
How to operate and depart from a soft (grass) field.

Task F - Normal and Crosswind Approach and Landing
Lesson on the basics of approach and landing.
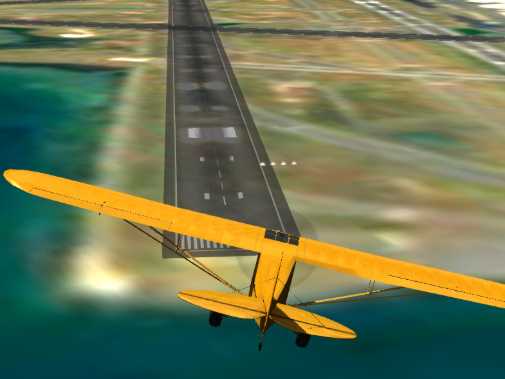
Task G - Slip to a Landing
Lesson on performing a slip to a landing.

Task H - Go Around and Rejected Landing
Basics of go-arounds, and the situations where they are required.

Task I - Short-Field Approach and Landing
Maximum performance landings, and operating from small, confined airfields.

Task J - Soft-Field Approach and Landing
Operating at soft (grass) or unimproved airfields.

Task K - Power-Off 180 Accuracy Approach and Landing
A required commercial maneuver that demonstrates precision management of a power-off glide to a spot landing.